Project 3
Large Tosho Needle Juniper Bonsai – Repotting September 2016
The time has come to put this Tosho Needle Juniper Bonsai into a bonsai pot for the first time. Enough time has passed since any work has been carried out and the tree is very healthy.
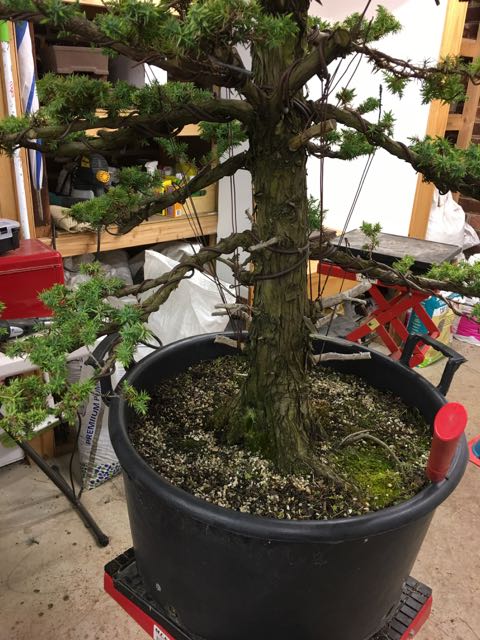
Obviously the first job was to remove the tree from the nursery pot. It was jammed in there nice and tight so I knew there’d be plenty of roots.
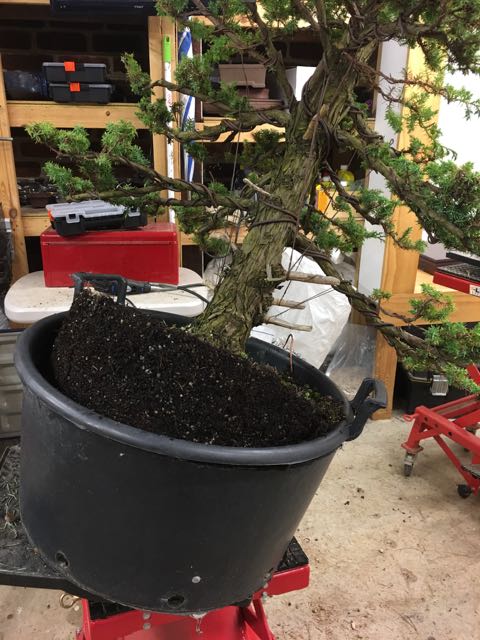
The tree is so tall and generally big that I needed to work the roots on a low barrow. First inspection of the roots showed very promising results. There were no thick roots and plenty of the fine feeder roots. I deliberately selected a first training pot that would not mean a massive reduction in the root mass to help with the transition from the plastic nursery pot. I want to minimise the shock as much as possible and this first pot is not the forever pot. Further reduction can occur at a future repotting session.

Checking for size. You can see the fine feeder roots.
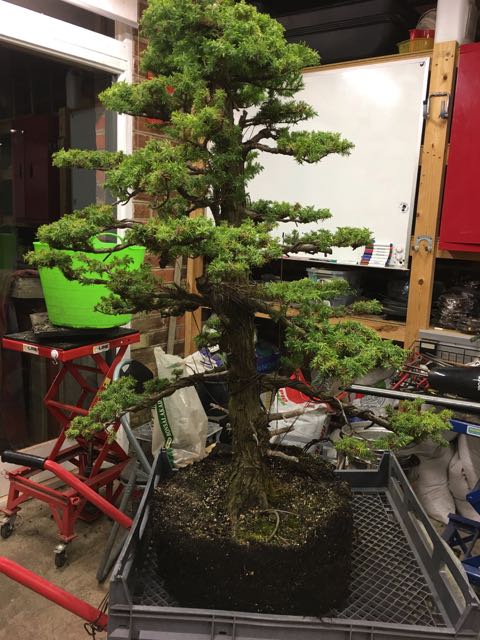
The tree was then secured into the pot.

Then the mix was added and worked into the pot using a chopstick. The surface was covered with sphagnum moss and thoroughly watered. And ta-da! Done.
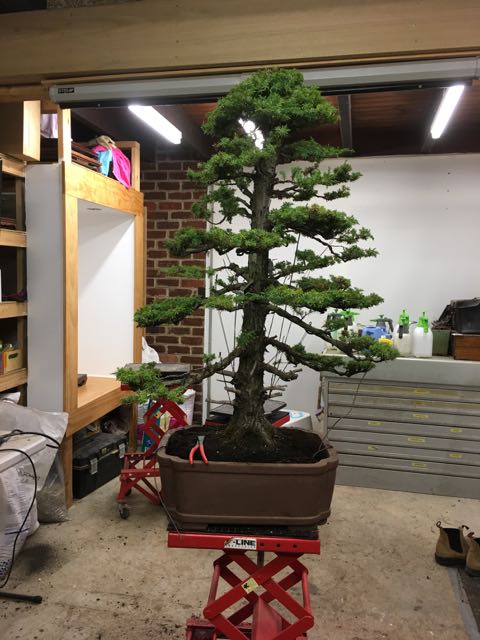
I’m really happy with the progress of this Tosho. The pads are starting to form on multiple levels and there is still more work to be done on the shari and deadwood but that will come. For now it’s shelter for 3-4 weeks with minimal exposure to the elements then feeding heavily.